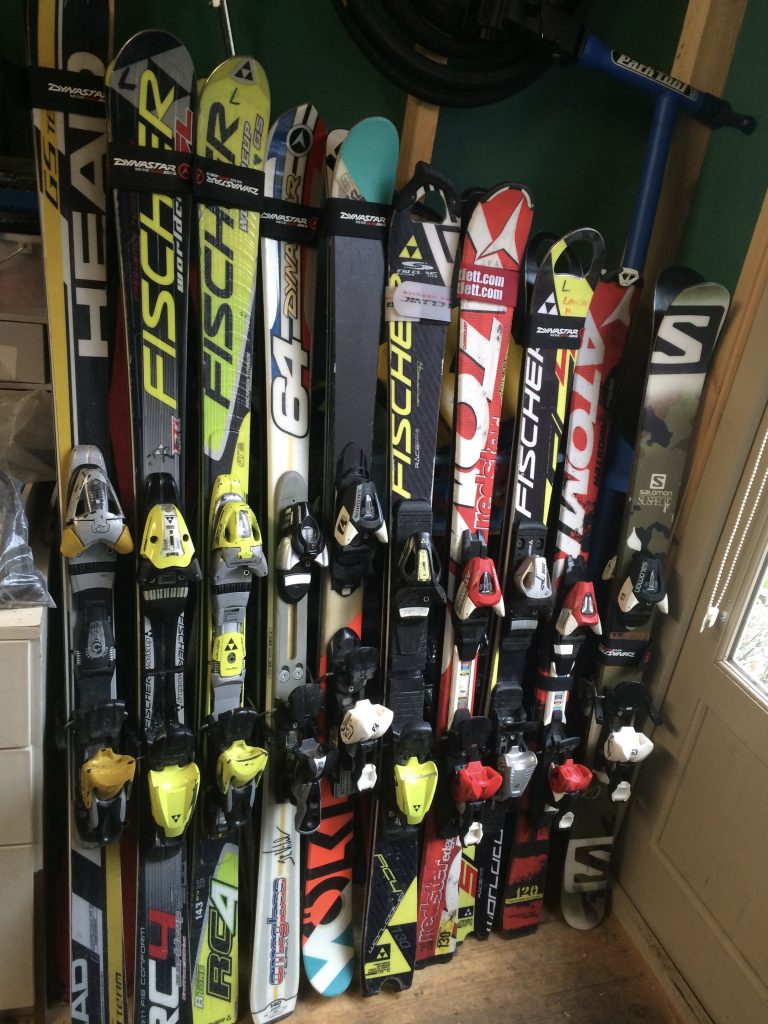
If you have taken the plunge and bought some skis, it’s a very good idea to learn to service them yourself. To get someone to edge and wax your skis will cost you from £10 upwards, but if you are training and racing regularly, the cost of getting them serviced by someone else will soon add up.
Its worth investing in some basic servicing kit and learning about waxing and edging. Not only will it be cheaper and more convenient for you, it will help to prolong the life of you skis.
What will you need to get you started
Bench/vices
You will need somewhere you support the skis. You can do using a Workmate type bench, but it is worth investing in three ski clamps (one of each end and one of the middle (£60 upwards for three) to give extra rigidity and support. You can buy a ski bench (£50 upwards), but it is worth looking at what these look like and finding a similar shaped, non skiing bench, which is likely to be cheaper!
Waxing Iron
These start at around £50. Unfortunately, a standard non-steam iron won’t do, as the temperature needs to be set accurately!
Wax
There are many different types of waxes, both for dry slope (which is harder than wax used on all but the very iciest of snow) and snow (and even different types of snow) wax. Decide on the type of skiing that you are doing and choose your wax accordingly. A 400g block of wax costing around £10 will do twenty – thirty pairs of skis.
Wax Scraper
This is piece of perspex, 3 – 4mm thick with a very straight edge, which costs about £5.
Wire Brush
This is used for brushing out the wax. It’s a specialised piece of kit, with short, close bristles, costing about £10
Nylon Brush
This is used for buffing base of the skis after scraping the wax. It’s a specialised piece of kit, with short, close bristles, costing about £10, so a scrubbing brush from Tescos won’t do.
Edge File
There are lots of different options, but we would recommend an angle adjustable edge file to start. Prices start at around £30 and go up and up.
Ski Brake Retainers
These keep the ski brakes out of the way whilst you are working on the skis. You can buy specific ones, but strong rubber bands are equally good.
Gummi block
Small block of dense rubber which is slightly abrasive. Its used for very fine ‘sanding’ of the edges. This usually cost under £10.
All the racing suppliesr will sell this kit separately or as a bundled starter kit, so its worth comparing prices.
All the gear, but no idea – how do I edge and wax a pair of skis?
The instructions below are designed to give you a feel for the steps involved for edging and waxing, but we recommend that you do some of your own research before starting out.
There is a wealth of information of the internet for how to edge and wax a pair of skis – Toko, a ski servicing kit manufacturer has produced a set of good YouTube videos. Many of the SASA parents service their own (or, rather their children’s) skis and can provide advice. SASA also puts on ski servicing demos periodically, so if you would be interested is seeing a demo, ask one of the committee and we’ll arrange for one to be scheduled.
You could spend all day lovingly servicing a ski, but the minimum time for edging and waxing a pair of skis (not including soaking time) is about 45 minutes.
Waxing and edging are messy jobs with the potential for drips and scrapings of wax metal scrapings being left on the floor, so choose your servicing area carefully!
Edging
- If you are edging and waxing together, its preferable to edge first
- Find out what edge angle your skis are set at. If bought new, ask the shop. If you bought second-hand from a racer, they will know! If neither of those routes are open to you, ask other racers/parents or various ski related forums on the internet should be able to help you
- Put ski in the ski clamp, edge upwards and ski base facing you. Put on the brake retainers
- Run the edging tool along the ski once or twice with a gentle, firm downward pressure (it is recommended that you wear gloves for this)
- Check for sharpness running your finger nail or finger pad across the edge (don’t run your finger along the edge). It should feel sharp.
- Run the gummi block once along the ski at 45 degrees to the edge. This removes any burrs from the ski edge
- Repeat on opposite edge of same ski (and repeat twice more for the other ski!!)
Waxing
- Place you ski on your workbench, with bases upward. Pull the brakes out of the way with the brake retainers
- Use the wire brush to brush out the wax from the base. Brush the ski either from tip to tail or tail to tip.
- Hold the iron above the ski, set to the right temperature for the wax (the temperature setting will be supplied with the wax) to melt the wax onto the ski in a zigzag pattern along the length of the ski
- Once covered with wax, use the iron to smooth the wax over the entire ski. Always keep the iron moving and there should be a trail of melted wax behind the iron for a few seconds.
- Put the skis to one side to allow the wax to penetrate, in a warm place. Leave them as long as possible, but 30 minutes as a minimum (for different types of wax, this time may vary – for very hard waxes they must be scraped off warm)
- Clamp the skis back on the bench, base upwards and brake retainers still on
- Scrape the excess wax off the base of the ski, using the plastic scraper, using long strokes along the length of the ski.
- Brush out the remaining wax, using the nylon brush in one direction (either from tip to tail or tail to tip) until the wax feels smooth with no sticky bits.
- Run the scraper down the ski side edge to remove any wax that has stuck to the edge
- Repeat for the other ski
Useful Links
Ski Bartlett guide to Servicing: https://www.skibartlett.com/downloads/1443786528Ski_Bartlett_Guide_To_Servicing_Tools.pdf